 Earlier this summer, I had a Pilen Lyx lady's bicycle in my possession for over a month, on loan from the US distributor BoxCycles. During this time I got to know the bicycle fairly well, and it is one of the more unusual classic bikes I have ridden so far - with a combination of qualities that makes it difficult to categorise. A city bike and an off-road bike in one, the Pilen is attractive, durable, amazingly stable, and is capable of hauling a great deal of weight.
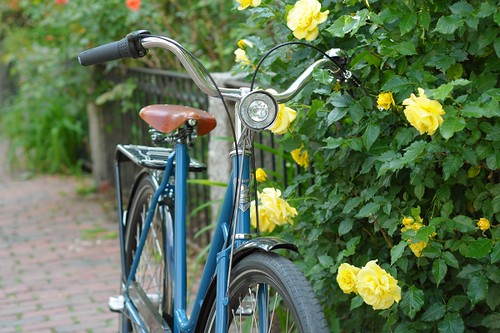
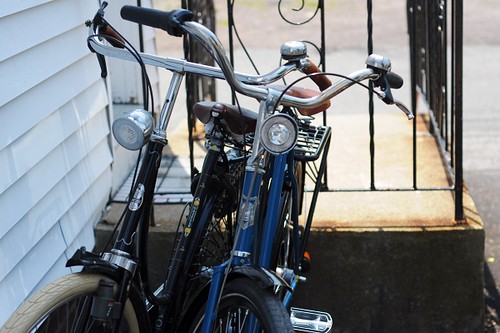
 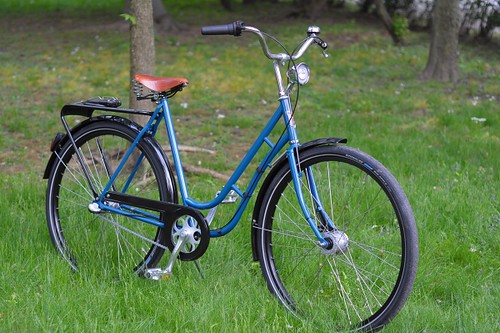 When the blue Pilenwas delivered to me, I was taken aback by its striking looks. I knew that this bicycle was designed to be practical, not pretty. A Scandinavian friend described its reputation as that of a "tank" - resistant to rust, tolerant of neglect and abuse, and indifferent to getting dropped on the ground or crashed at slow speeds - all around "solid." In a region that is no stranger to heavy-duty bikes, that is quite a statement and it led me to expect a purely no-nonesense machine. But in person the Pilen has a romantic quality to it that transcends the practical aspects.
  It is not a quaint bicycle. But it is graceful and evocative. My imagination immediately went into overdrive with daydreams of seaside forest trails and lush meadows under stormy skies - the Pilen gliding through them with a stack of firewood strapped to its rear rack. While in a way such flights of fancy are absurd, I think that a bicycle's ability to inspire is tremendously important, and the Pilen inspires.
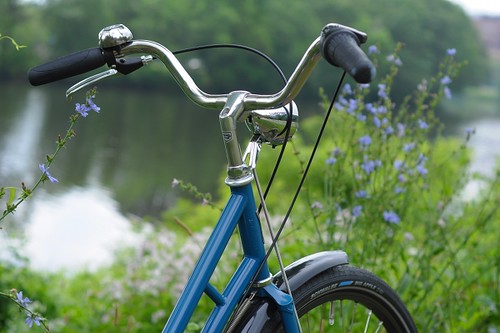 Aside from the looks in a general sense, I was impressed with the frame construction. I knew that the frame was TIG-welded (not lugged) steel, so I was not expecting to swoon over it. But as far as welded frames go, this is swoon-worthy. The frame joints are beautiful, with the welding marks nearly invisible - visually on par with custom frames.
 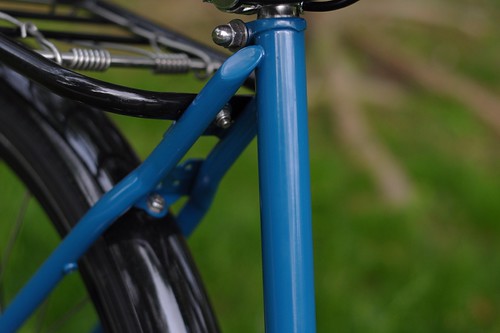 The curved seat stays are capped and meet the seat tube in the most elegant manner. No shortcuts, no ugly blobs here. The top of the seat tube has a "collar" that completes the quality feel.
 The crisp, lugged fork crown balances out the details at the rear. It is really very nicely done and I prefer a frame like this by far to frames where the main tubes are half-heartedly lugged, with a welded rear triangle or a unicrown fork slapped on.
My one criticism of the frame construction, is that while there are details such as a braze-on for the front wheel stabiliser spring, there are no braze-ons for the shifter cable and it is attached along the down tube with black clips. Why not add a couple of braze-ons here?
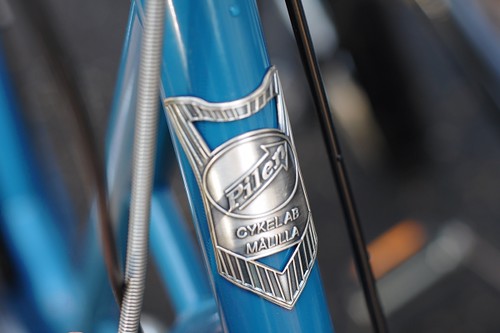 The Pilen headbadge: "cycles from Malilla." The word pilen means "arrow" in Swedish. The bicycles are designed and assembled in-house, with the frames built in Taiwan to their specifications.
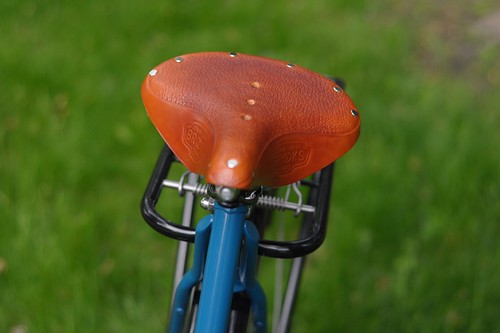 Pilen bicycles come equipped with Brooks B66 saddles (B66S for the lady's frame) in a selection of colours. Frame colour can also be selected - the other options being black, dark green and dark red.
 Rubber grips and a Pilen-branded bell. You have to spin the bell to ring it, which can work nicely for those whole finger hurts from trigger-style bells.
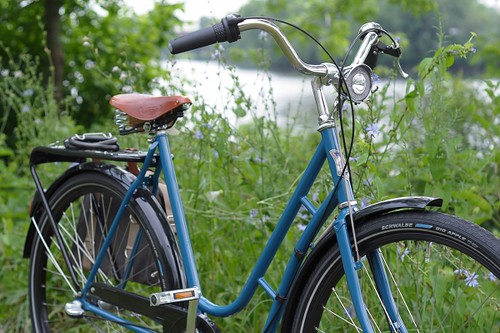 The version of the Lyx I had was equipped with a 3-speed Shimano coaster brake hub with a twist shifter. Other possibilities are available, including hand-operated brakes and 8-speed hubs. The bicycle comes with a dynamo hub-powered headlight, which can be attached either below the stem or on the side, via a braze-on on the fork - depending on whether you plan to attach a basket. When the headlight it attached below the stem, the wire is contained within a long spring that attaches to a braze-on on the fork. I have never seen this method before and spent a lot of time examining the spring.
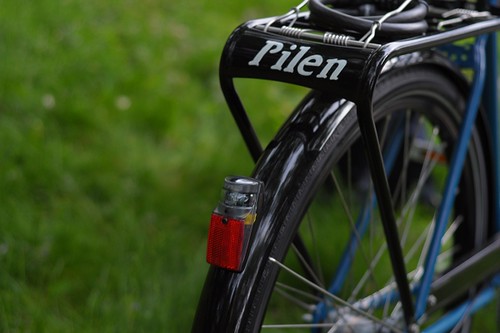 The tail light is battery powered - as is increasingly the trend with many European bicycles that previously used dynamo-powered lighting front and rear. I think the trend is an unfortunate one, and wish the Pilen had a dynamo-powered tail light.
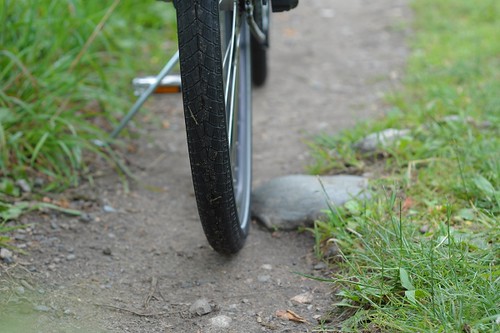 The tires are 700C x 48mm Schwalbe Big Apples, black with reflective sidewalls.
 One feature that gives the Pilen its distinct look is the custom rear rack. It is beautifully made, with hand-painted insignia, and is unusually large.
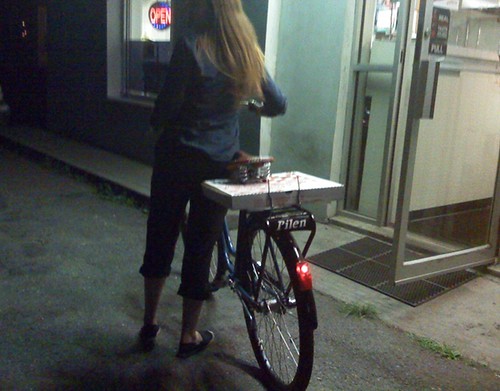 For reference, this is a large pizza box (17"x17").
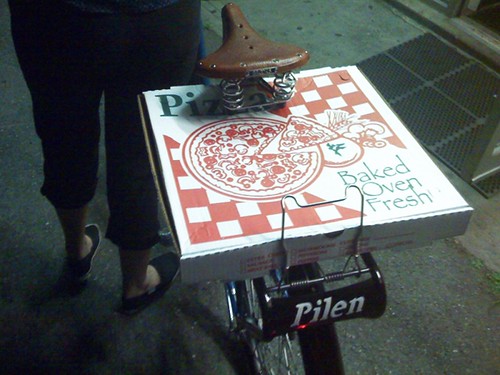 Jammed under the saddle and held in place with a rat-trap spring. Yup, that's all it takes to transport a pizza on this bike.
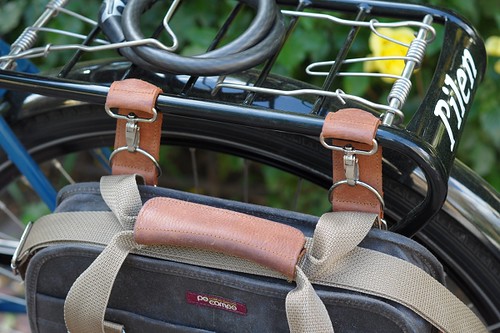 This is the only rack I've seen with not one but two rat-trap springs, and they came in handy when devising creative ways to carry shopping bags. I have also attached stacks of large, heavy boxes to the rack with bungee cords, and it hardly flinched. The platform is so wide, that the packages stay very stable. The one downside of a rack like this, however, is that the tubing is too thick for pannier systems that attach via hooks. Ortlieb, R&K, Fastrider and Basil hooks will not fit around it. Only a system such as the one Po Campo uses (shown above and reviewed here) will work with the Pilen rack.
An optional front rack is also available with the Pilen (shown and reviewed here), but I opted not to install it. This front rack felt excessively heavy, and at 47lb the bicycle was already borderline too much for me to handle without it. I was also told that installing the front rack scratches up the head tube and headbadge, so all in all it did not seem appealing. For all of my needs (workbag, grocery shopping, and the occasional transport of boxes and bulky packages) the huge rear rack was sufficient.
 While in possession of the Pilen, I went back and forth between riding it and my mid-'90s Gazelle, marveling at the differences between them despite their superficial similarities. While my Gazelle is a prototypically hardy Dutch bike, it seemed almost flimsy in comparison to the Pilen's visibly thicker tubing, wider tires, and overall "heavier set" looks. The Gazelle's rear rack looked downright scrawny next to the Pilen's mighty platform, and the Gazelle's handling at slow speeds was like that of a drunker sailor compared to the Pilen's unwavering stability. On the other hand, the Pilen was slower to accelerate and more effortful to push for me than my old Gazelle - an experience that seems to be a factor of my size and weight, as described here.
  Compared to traditional Dutch bikes or English Roadsters, the SwedishPilen's geometry is not quite as relaxed, and its handlebars are considerably less swept back - positioning the cyclist's hands almost straight in front of them, mountain bike-style. This makes the handling both more controlled and livelier, with the cyclist's weight more evenly distributed between the front and rear of the bike. While I like the lower positioning of the handlebars, I would prefer it if they had more sweep to them - but this is a matter of personal preference.
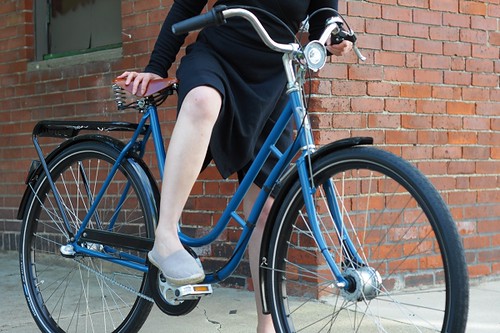 The thing that impressed me the most about the Pilen's ride quality, is its stability. When starting and stopping, itfeels extremely sturdy and safe. I wrote earlier about all the different things people mean when they describe a bicycle as "stable," and the Pilen is pretty much all of them. It does not want to go down, no matter what - a factor that can be especially important to novices who are worried about faltering at intersections in traffic.
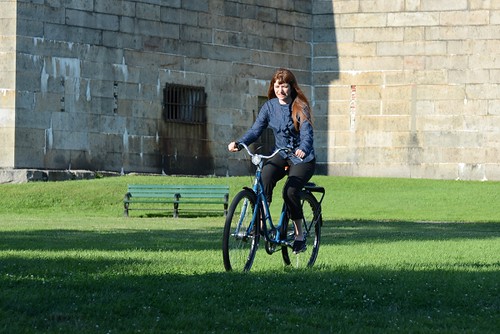 I also soon discovered that the Pilen handled excellently on a variety of off-road surfaces: grass, dirt, gravel paths, even narrow trails with roots and rocks. This is a very fun and safe bicycle to ride off pavement.
 All in all, I have probably ridden about 100 miles on the Pilen - most of it in the form of short (< 5 mile) trips. The longest I have ridden it in the course of a single ride is 20 miles. Initially I was reluctant to take a longer trip on this bike, because of how relatively effortful it felt to accelerate. But in the course of the longer ride it "blossomed" and we developed a flow that made it faster and easier than I expected. The bike also did surprisingly well on hills, particularly if given a chance to pick up speed beforehand.
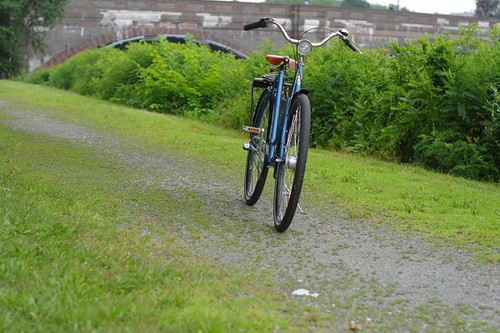 The more experience I gained with the Pilen over time, the less certain I became about how to define or explain it. A classic "swan" frame reminiscent of vintage bicycles, it really handles more like a contemporary mountain bike with upright positioning. The on/off road handling can be especially useful for those who regularly travel through pothole-ridden neighbourhoods, or for those who have access to off road trails for commuting. For those who enjoy touring on an upright bike, the Pilencould be a good candidate as well.
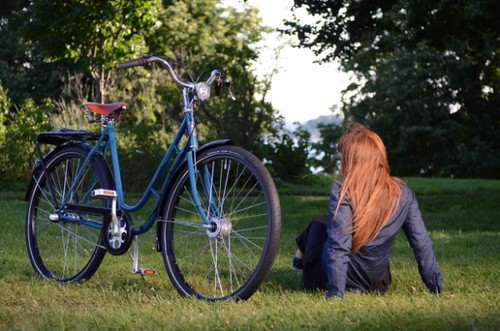 The one size only 56cm lady's frame is best suited for taller women, which is good news for those who have been unable to find step-through frames in larger sizes. Theheavy-duty tubing and wheels are designed for carrying serious weight, which is great for heavier riders and for those regularly traveling with the bike fully loaded. No bicycle is for everyone, but I think the Pilen fills a niche that needed filling: It is a hard-core, elegant transport bike whose mountain bike-ish handling should be inherently familiar to a North American cyclist. Though I would have liked to see a full chaincase, dressguards and a dynamo-powered tail light on thePilen, it is otherwise fully equipped for daily transportation.Having housed it outdoors for the duration of my guardianship, I can attest to the bike'sresistance to the elements and its general durability: There is not a scratch on the powdercoat and the components are free of rust.
Last month I hosted a contest to give away the Pilen to one of my readers, and the winner should be receiving the bicycle shortly. I wonder what she will think of it, and how her impressions will compare to my pragmatic and romantic musings. Many thanks once again to Will of BoxCycles for the opportunity to get to know this bicycle, and for so generously donating it to be given away.


 Photographs taken on April 8, ...


 I started buying wool cycling clothing last summer and I now own three bicycle jerseys. What I like about cycling jerseys - as opposed to regular t-shirts - is that they are well-ventilated, elongated in the back (good for a leaned-forward posture), and have built-in pockets, making them convenient to wear on a roadbike. Here are some details about the three I own:
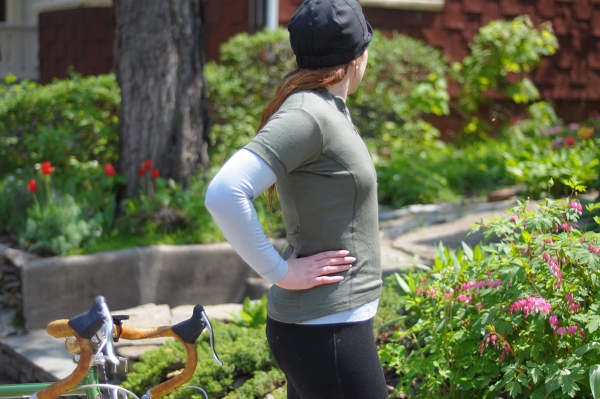 The first wool cycling jersey I bought is this one by Swobo. I heard good things about these and they were on clearance. The entire line is now discontinued, which means that you can find these jerseys on sale at various online outlet stores. The colour of mine is "tree mud."
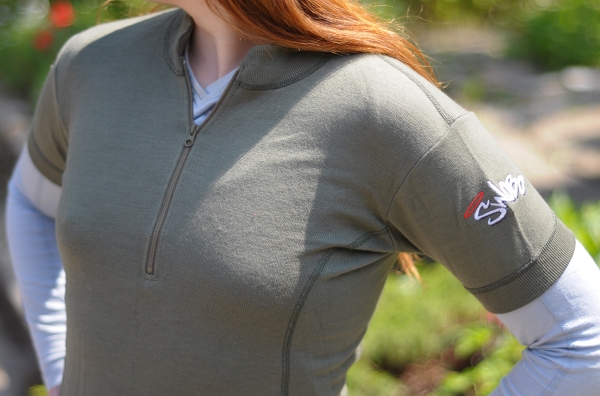 TheSwobojersey is styled like a vintage cycling jersey in everything from overall design to texture, featuring a classic front zip collar and side panels.
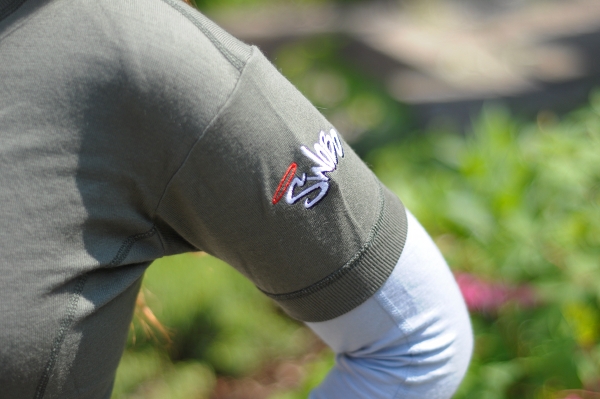 Medium-lenght polo-style short sleeves.
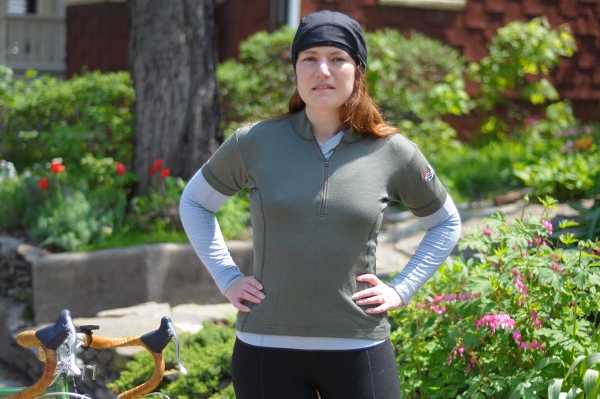 The wool is on the thick side. It is much softer than vintage wools, but similarly bulky. This makes the Swobojersey not the most flattering on female bodies - especially in the tummy and upper arm areas. It is cut with practicality in mind.
 The back of the Swobois long and features two very deep pockets, each large enough to fit things like a camera, wallet, phone, sandwich or apple.
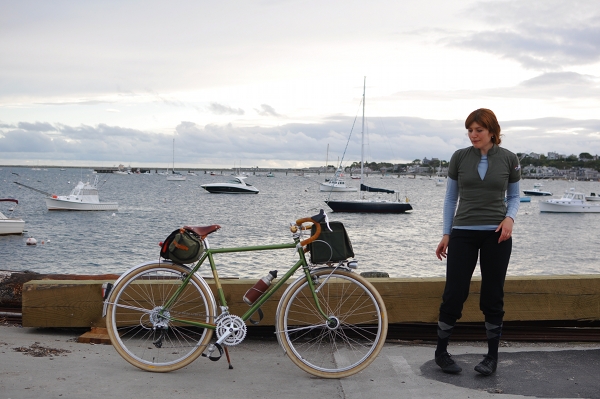 I wore this jersey frequently during our stay on Cape Cod last September, and it is especially good for cooler weather and for cycling in the wind with occasional rain. A durable and practical jersey, but not the most flattering or lightweight fabric.
 After the Swobo, I purchased this GT jersey by Icebreaker. I wanted a lighter-weight alternative for warmer weather, and was also hoping for a more flattering fit. The Icebreakeris great on both accounts. This is a "multi-sport" model and I bought the previous season's version, on clearance from an online reseller (forgot which one). The current production model is styled a little differently, but it's same general idea.
 The wool fabric is almost gauze-thin and 4% lycra, which makes it stretchy. The result is supremely flattering.
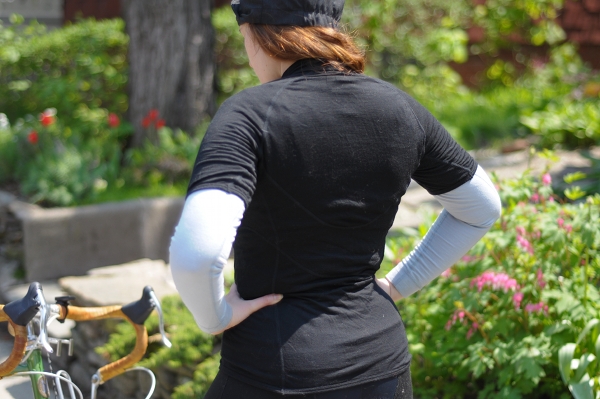 This might be hard to see, but there are panels made of a perforated fabric that run along the back and sides of the jersey. These provide great ventilation and contribute to the flattering styling. The back is quite long, and the stretchiness keeps it from riding up.
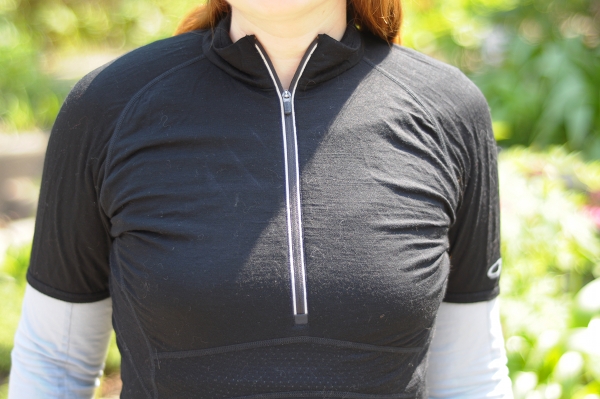 Mock turtleneck collar, reflective zipper, perforated panel under the chest, and elongated short sleeves that can be pushed up or pulled down.
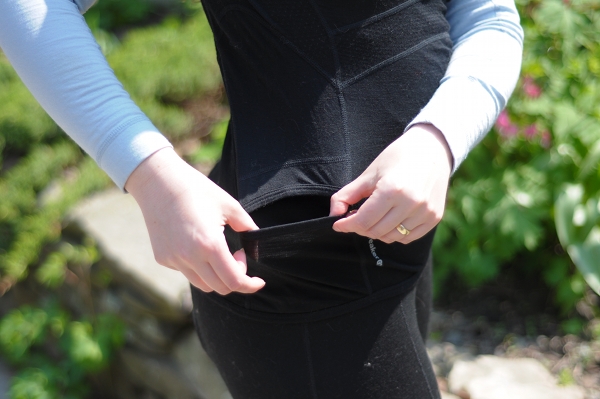 The one flaw of the Icebreaker jersey is the pocket. Because it is not a cycling-specific garment per se, the pocket is on the side. This works so-so in a leaned forward position, but is not ideal because whatever you put in it will add more weight to one part of your body than the other and will pull forward. If you're carrying just a credit card, bills, or folded-up directions then it does not matter, but heavier things like keys or a phone may pull uncomfortably on a bike with dropbars.
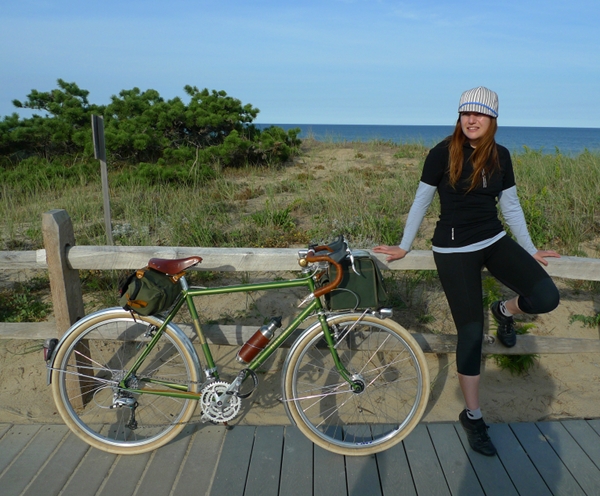 I wore the Icebreaker jersey a lot at the end of last summer, and am starting to wear it again now that it's getting warmer. With all the perforated vents and the long zipper, it keeps me extremely cool.
 My latest wool jersey is from Ibex, received as part of an equal-value trade directly from the manufacturer. Last summer I bought a pair of Ibex woolcycling knickers (shown in all the pictures here) and I love them so much that I was happy to get anything else Ibexmakes. The Indie Mountain jersey did not disappoint. It is flattering and lightweight, and while Icebreakerachieves its flattering look via adding lycra for stretch, Ibexdoes it via careful tailoring.
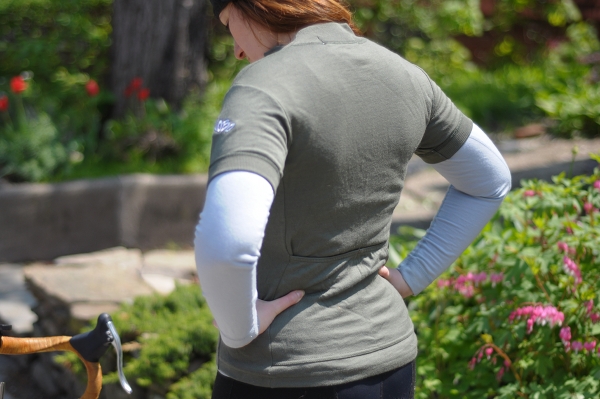
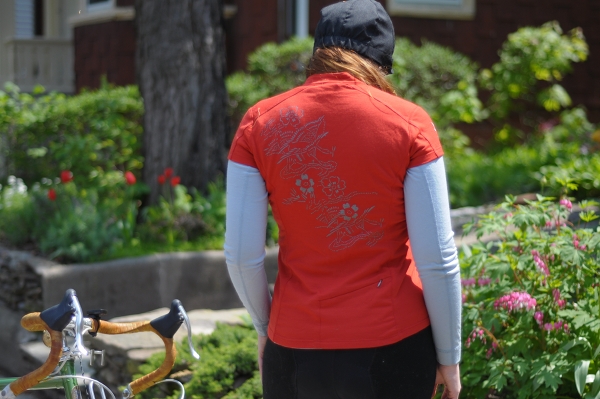 The elaborate multi-panel construction is almost architectural. It cinches the jersey at the waist, expands it over the chest, and drapes it over the tummy in a way that hides the treacherous folds that can form there.
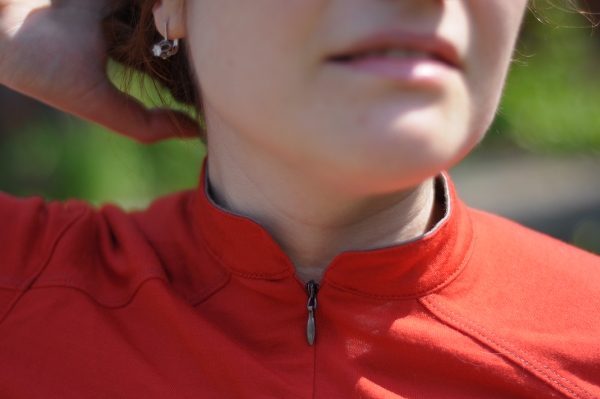 The elegant Mandarin collar makes the jersey look almost dressy.
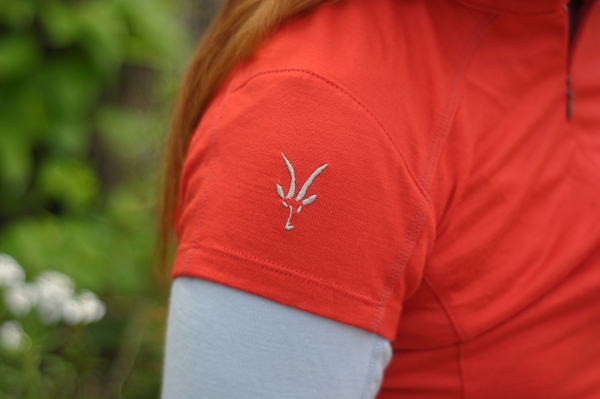 The short sleeves are finished so that they are loose around the upper arm, as opposed to cutting into it. This is more flattering than typical cycling jersey sleeve designs, especially for those of us who do not have upper arms of steel.
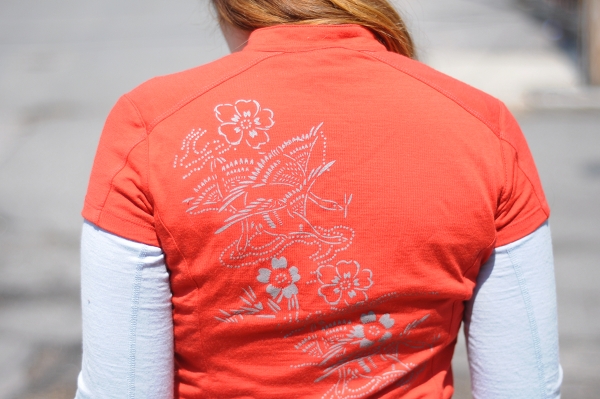 The one thing I could do without on the Ibexjersey is the cherry blossom/ crane rendering. It's just too girly for me, and I also think that it makes what is otherwise a subtle Asian theme way too explicit. This jersey is beautifully styled; it didn't need cranes and flowers.
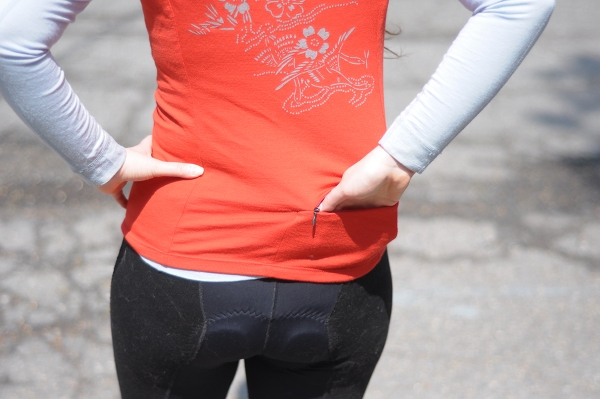 The rear pocket is on the small side, but fits my smaller camera and zips up, so no complaints.Overall, this is a versatile jersey good for both warmer and cooler weather, and I've been wearing it more than my other two since I began cycling this season. (Ibex: Could you make just some plain versions without the drawings, please?)